 Subcut
How to Cancel a Subscription on iPhone (Step by Step)
How to cancel a subscription on your iPhone in four taps, what cancelling actually does, and what to do for the charges that are not Apple subscriptions at all.
Most people go looking for this screen at the worst possible moment, the day a charge they forgot about lands. The good news is that cancelling an Apple subscription takes about four taps. The catch is that not every recurring charge on your iPhone is an Apple subscription, and the ones that are not hide somewhere else entirely. Here is the whole picture.
The fast way: cancel in Settings
This is the route that works for anything billed through your Apple Account.
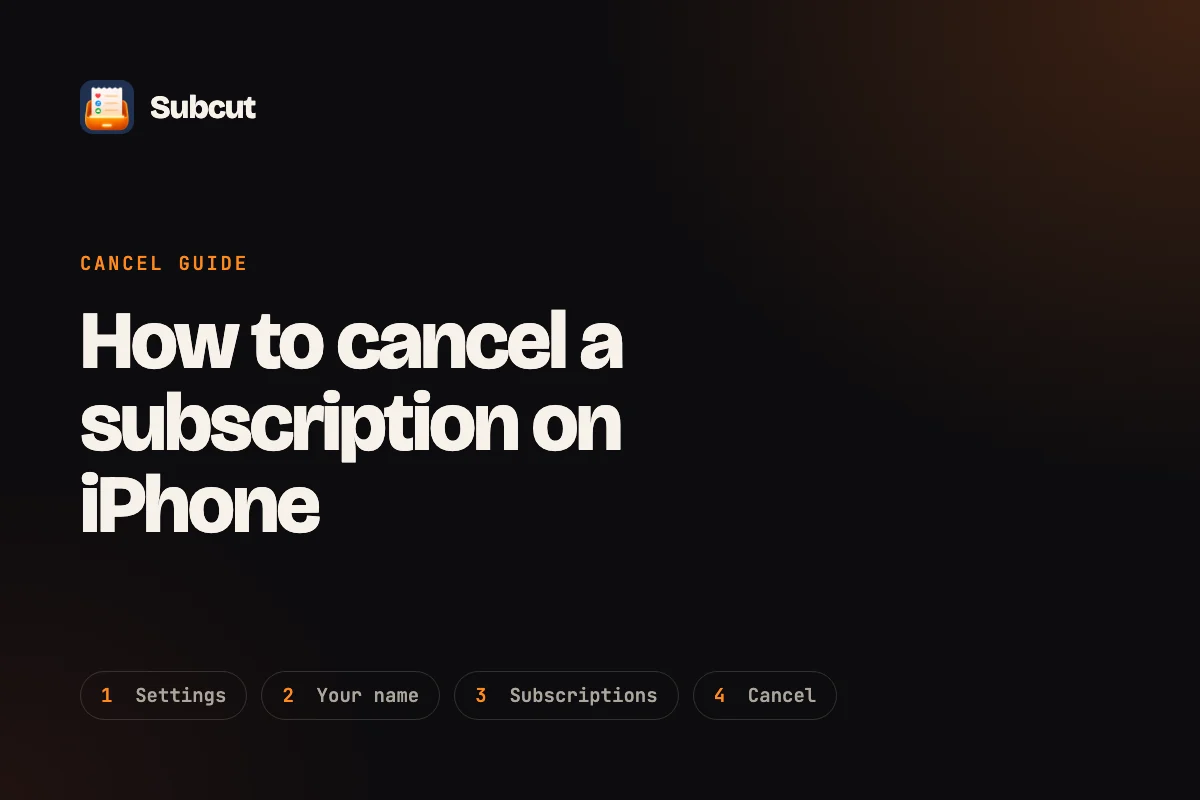
- Open Settings.
- Tap your name at the very top.
- Tap Subscriptions.
- Tap the subscription you want to stop, then tap Cancel Subscription. You may need to scroll down to find the button.
That is it. If you do not see a Cancel Subscription button and instead see a date in red, the subscription is already cancelled and will not renew.
You can reach the same list from the App Store app: tap your profile picture in the top right corner, then tap Subscriptions. Both routes open the same screen, so use whichever is faster for you.
What cancelling actually does
Cancelling is not the same as a refund, and it is not instant. When you cancel, you keep access until the end of the period you have already paid for, and the subscription simply does not renew after that. Apple does not automatically refund the unused part of a period.
The practical takeaway: there is no penalty for cancelling the moment you decide you are done. You do not lose the time you paid for. The only reason to wait is if you genuinely still use the thing until the period ends.
Free trials: the 24 hour rule
If you started a free or discounted trial and you do not want it to roll into a paid subscription, cancel it at least 24 hours before the trial ends. Apple can process a renewal up to a day early, so leaving it to the final few hours is how people get charged anyway. Cancelling a trial keeps your access for the rest of the trial period, so you lose nothing by cancelling the same day you sign up.
The part Apple's instructions skip: charges that are not Apple subscriptions
Here is where people get stuck. You open Settings, Subscriptions, and the charge you are hunting for is not there. That does not mean it is gone. It means Apple is not the one billing you.
There are two different kinds of recurring charge on your iPhone:
- Billed through Apple. Anything you subscribed to inside an app or the App Store. These show up under Settings, Subscriptions, and on your statement they usually read as APPLE.COM/BILL. If you are seeing that descriptor and cannot tell what it is, our guide on what the APPLE.COM/BILL charge is shows how to find the exact app.
- Billed directly by the company. A gym, a news site you signed up for on the web, a SaaS tool, a streaming service you subscribed to on its own site rather than through the App Store. These never appear in your Apple subscriptions list, because Apple is not involved. You cancel them in that company's own account settings, or by contacting them.
If a charge is not in your Apple list, the company is billing your card directly, and that is a different job. Some of those companies make leaving deliberately hard, which we cover in why companies make you call to cancel.
When you do not even recognize the charge
Sometimes the problem is not cancelling, it is identifying. Statement descriptors often use a payment processor or a legal name instead of the brand you know, so a charge can look like a stranger. If that is where you are, start with a recurring charge you do not recognize, which walks through tracing a mystery line back to a real service before you cancel or dispute it.
If you were already charged
Cancelling stops the future. For the charge that already went through, you can ask for a refund. For App Store subscriptions, Apple takes refund requests at reportaproblem.apple.com and decides case by case. For anything billed outside Apple, you ask the company. The wording and the deadlines matter, so see how to get a refund after being auto-renewed before you send anything.
See everything in one place first
The reason a charge surprises you is almost never that it is new. It is that it was invisible. The single most useful thing you can do is get the whole list in front of you once, Apple and non-Apple together, so nothing hides. You can do that the slow way by reading three to six months of statements, or you can find your subscriptions from a bank statement in about a minute. That is exactly what Subcut is for: it reads a statement, lists every recurring charge, flags duplicates and trials about to renew, and then gives you the cancellation steps for more than 800 services, including the ones Apple does not bill.
Cancelling one iPhone subscription is four taps. Knowing which charges to cancel in the first place is the part worth doing properly.